How to Fix Chromebook Lines on Screen: 7 Expert Solutions
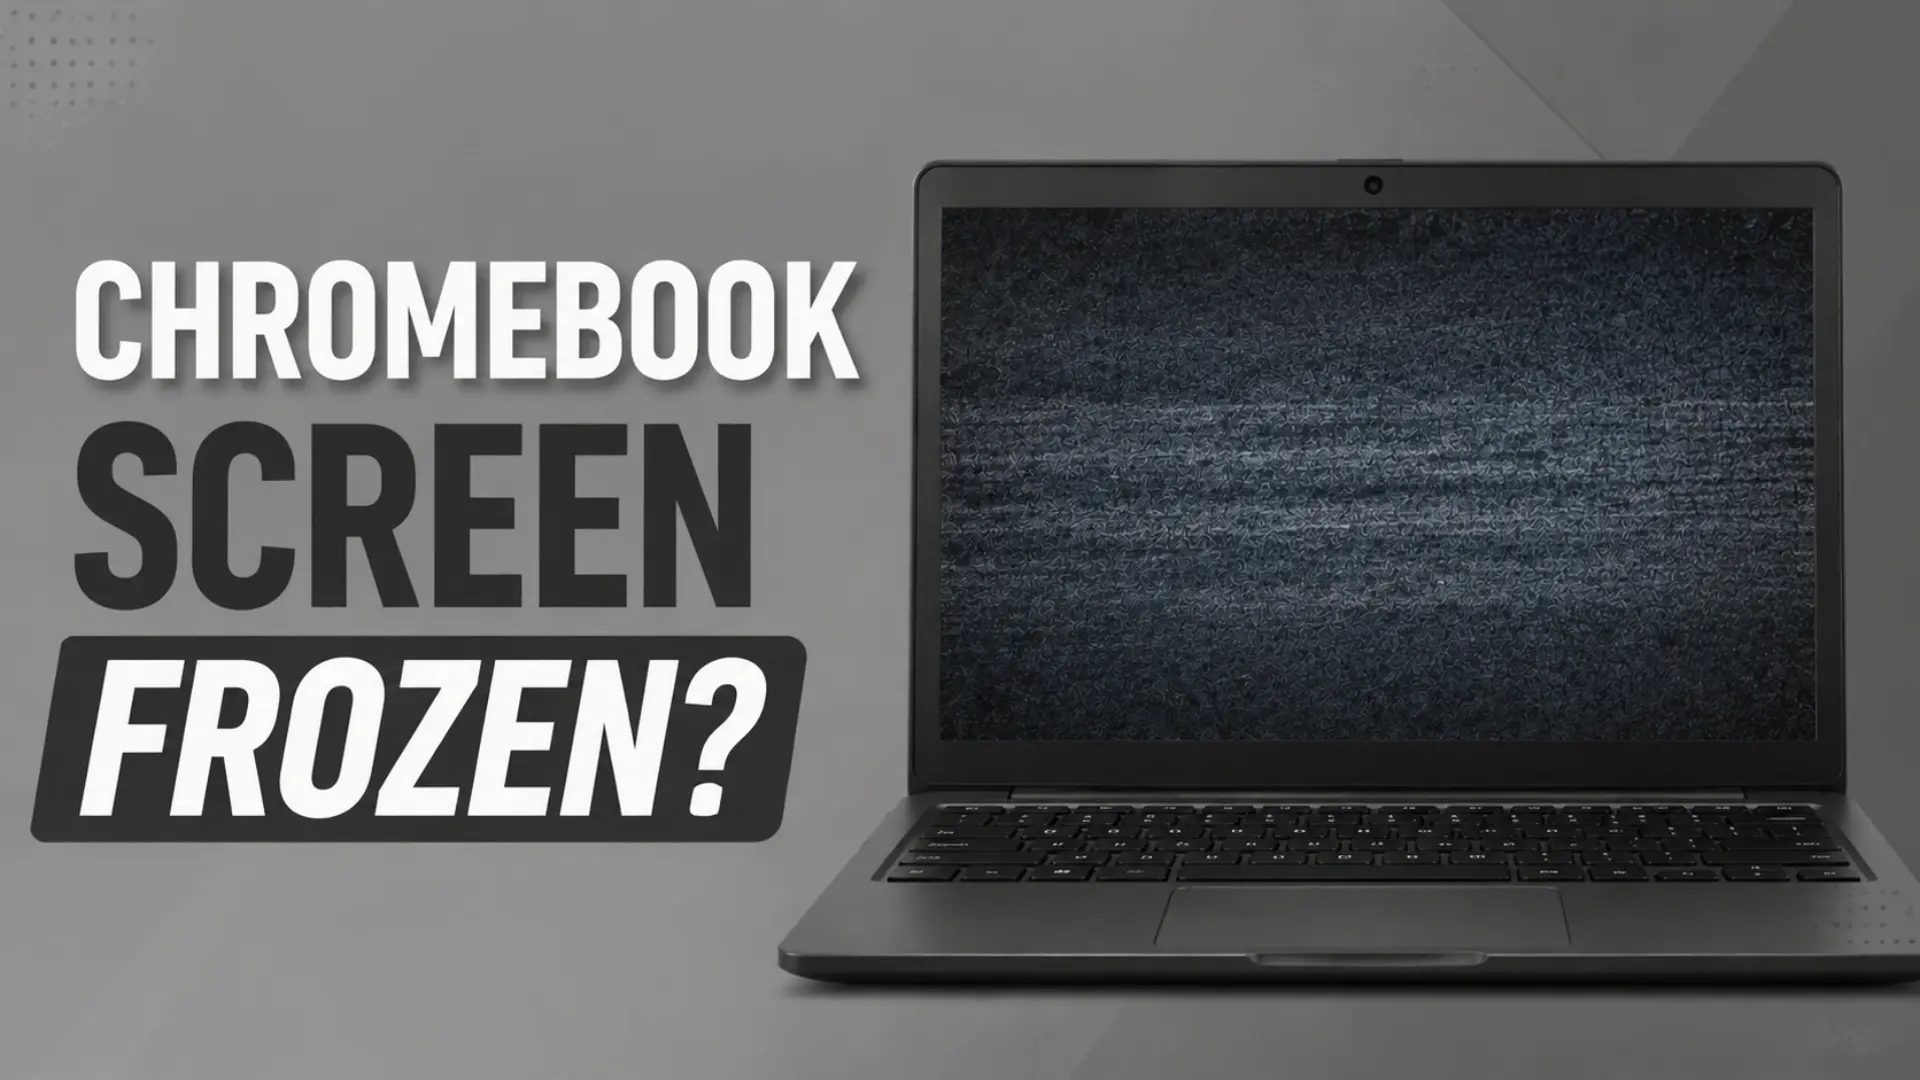
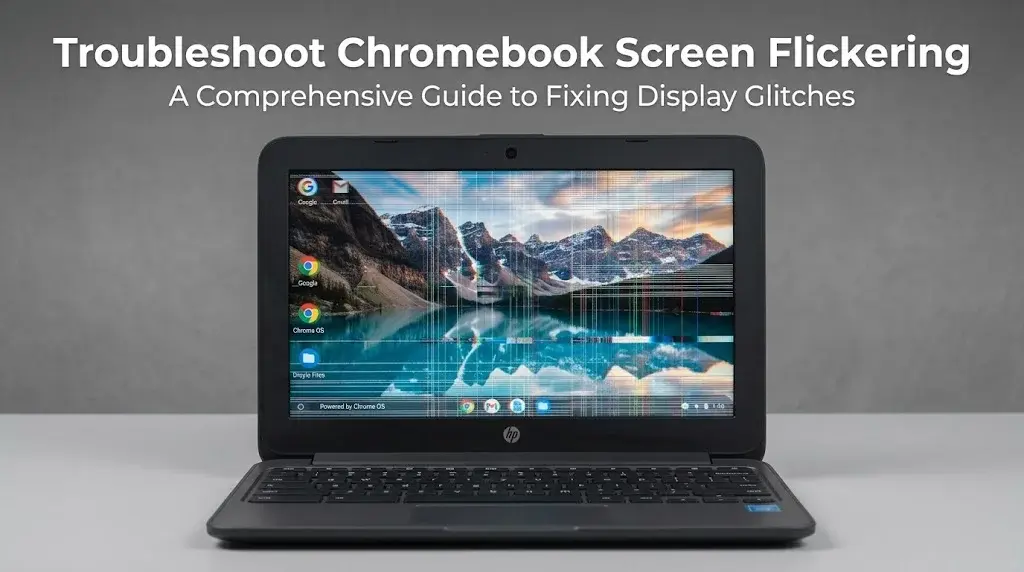
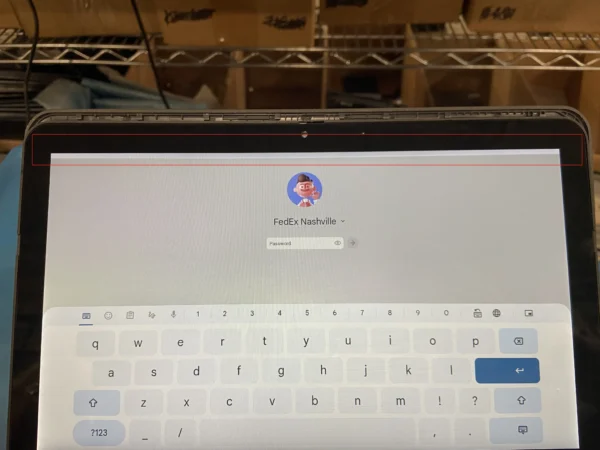
Few things are more frustrating than opening your laptop to find distracting, glitchy streaks cutting across your display. If you are currently dealing with Chromebook lines on screen, you are not alone. Whether they are horizontal or vertical, white or multicolored, these lines are a common issue that can disrupt your schoolwork or remote job.
But don’t panic just yet. Before you assume your laptop is permanently broken, it is important to understand what is happening. The good news is that Chromebook lines on screen are not always caused by expensive hardware damage—sometimes, a simple software reset or an OS update can bring your display back to perfect clarity.
What Causes Lines on a Chromebook Screen?
To fix the problem, we first need to figure out why it is happening. When users experience Chromebook lines on screen, the root cause generally falls into one of two categories: software conflicts or physical hardware failures.
1. Software Glitches and Corrupted OS
Sometimes, ChromeOS encounters a bug, a faulty system update, or a corrupted graphics driver overlay. When the operating system fails to communicate properly with the graphics processor, it can result in temporary display artifacts, flickering, or lines.
2. Ribbon Cable Damage from Hinge Stress
Your Chromebook’s motherboard connects to the display panel via a thin ribbon cable (often called an eDP or LVDS cable) that passes through the physical hinge. Over hundreds or thousands of open-and-close cycles, micro-cracks can form in the cable’s conductors, leading to intermittent or static lines.
3. T-Con Board or Sub-Pixel Transistor Failure
The Timing Controller (T-Con) board generates the signals that drive each color sub-pixel row and column on your screen. If the T-Con board malfunctions due to heat, or if specific row/column transistors on the glass substrate burn out, you will see thin vertical or horizontal colored lines.
4. Physical LCD Panel Damage
If your Chromebook was recently dropped, bumped, or stepped on, the internal liquid crystal display (LCD) layer may have fractured. Even if the outer glass feels smooth, internal pressure can cause permanent lines to bleed across the screen.
The 30-Second Diagnostic Tests: Is It Software or Hardware?
Before trying any complex fixes, use these professional diagnostic tricks to instantly isolate the cause of your Chromebook lines on screen:
Test 1: The External Monitor Test
Connect your Chromebook to an external monitor or a TV using an HDMI cable or a USB-C adapter.
If the external monitor looks perfectly normal: Your Chromebook’s internal LCD screen, T-Con board, or video cable is physically damaged.
If the external monitor ALSO shows lines: The issue is a software glitch or a failing system graphics chip.
Test 2: The Screenshot Test
Take a screenshot of your screen while the lines are visible, and view that screenshot on another device (or send it to your phone).
If the lines appear in the screenshot: It is a software rendering issue or an app glitch.
If the lines do NOT appear in the screenshot: The hardware display panel itself is faulty.
How to Fix Chromebook Screen Lines: Software Solutions
If your diagnostic tests pointed toward a software issue, work your way through these steps to clear out any system bugs.
Step 1: Perform a Hard Reset
A hard reset reboots your Chromebook’s internal hardware components and resets the embedded controller, which can instantly clear up graphical bugs causing Chromebook lines on screen.
Turn off your Chromebook completely.
Press and hold the Refresh key (the circular arrow icon) and tap the Power button simultaneously.
Keep holding the Refresh key until your Chromebook boots back up, then release it.
Step 2: Update ChromeOS to the Latest Version
Google frequently releases patches for known display bugs. To check for updates:
Click on the time in the bottom-right corner and open Settings.
Click About ChromeOS at the bottom of the left menu.
Click Check for updates. If an update is available, download it and restart your laptop.
Step 3: Powerwash Your Chromebook
If a system update doesn’t work, a “Powerwash” (factory reset) will wipe your Chromebook and restore it to its original out-of-the-box state. Make sure to back up any local files to Google Drive before doing this.
Go to Settings > Advanced > Reset settings.
Click Reset next to the Powerwash option.
Follow the on-screen prompts to wipe your device.
Hardware Troubleshooting for Chromebook Display Lines
If software fixes fail, you are likely looking at a hardware issue. Based on industry-standard repair data, here is the chronological order of how to address mechanical failures:
Fix 1: The Hinge Flex Test & Bezel Pressure
Gently open and close the laptop lid while watching the lines. If the lines flicker, shift, or disappear depending on the angle of the lid, your ribbon cable is loose or damaged near the hinge. You can also try applying gentle pressure to the plastic bezel surrounding the edges of your screen. If the lines react, a loose video connector is the culprit.
Fix 2: Reseat the Internal Ribbon Cables
If you are tech-savvy and your device is out of warranty, you can consult your specific model’s service manual to access the internal video cable. Power off the laptop, disconnect the battery, locate the display ribbon cable on the motherboard, and firmly disconnect and reconnect it at both ends. Wiping the cable’s gold fingers with anhydrous alcohol can clear away oxidation that blocks signal transmission.
Fix 3: Replace the Display Panel
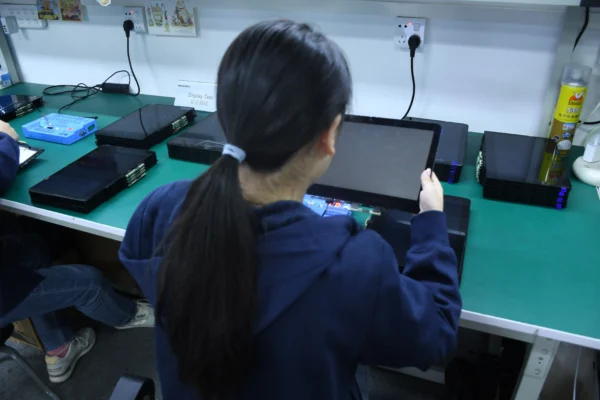
If the lines remain completely static, do not react to hinge movement, and failed the screenshot test, your LCD panel or T-Con board is defective. Because the T-Con board is integrated into the display module, the true fix is to replace the LCD screen entirely. Choosing high quality replacement chromebook lcd panel from Laptop Defenders which will undergo a rigorous, multi-point display test to avoid lines and dots prior to packaging.
How to Prevent Future Screen Damage
Once you have resolved your Chromebook lines on screen dilemma, take steps to protect your laptop from future display failures. Always close your Chromebook from the center of the lid rather than twisting it from a single corner, which puts uneven twisting stress on the panel. Furthermore, never leave pens, headphones, or flash drives on your keyboard before shutting the lid, as concentrated pressure is the number one cause of cracked internal LCD layers!