Chromebook Keyboard Not Working? Here’s How to Diagnose the Problem
Chromebook keyboard not working is one of the most frustrating issues you can encounter, especially when you are in the middle of a school project, managing a fleet of devices, or replying to an urgent client email. When your keys suddenly stop responding, it can feel like your entire device is useless. However, before you panic or look into replacing the entire laptop, it is important to know that many keyboard issues are caused by temporary software glitches, incorrect settings, or minor physical blockages.
This comprehensive diagnostic guide will walk you through the most common symptoms, explain the technical reasons behind them, and provide step-by-step solutions to help you pinpoint exactly why your Chromebook keyboard is not working and how to fix it.
Typical Situations & Targeted Fixes
Chromebook keyboard not working rarely happen in the exact same way. Identifying the specific behavior of your keys is the fastest way to diagnose the root cause. Here are the most common scenarios users face:
Situation A: Keyboard Hotkey Problems (Top Row Keys Not Responding)
If your letter and number keys work perfectly fine, but your top-row keys (like volume control, brightness adjustment, or the refresh button) refuse to work, the issue is almost certainly a software setting rather than a hardware failure.
The Detailed Reason: ChromeOS allows users to change the behavior of the top row to act as standard function keys ($F1$ to $F12$). If this setting was toggled accidentally—often by quick typing or accidental keystrokes—your dedicated hotkeys will stop performing their quick actions. Instead, the system expects them to act as legacy function keys used in coding or specific web applications.
The Step-by-Step Solution:
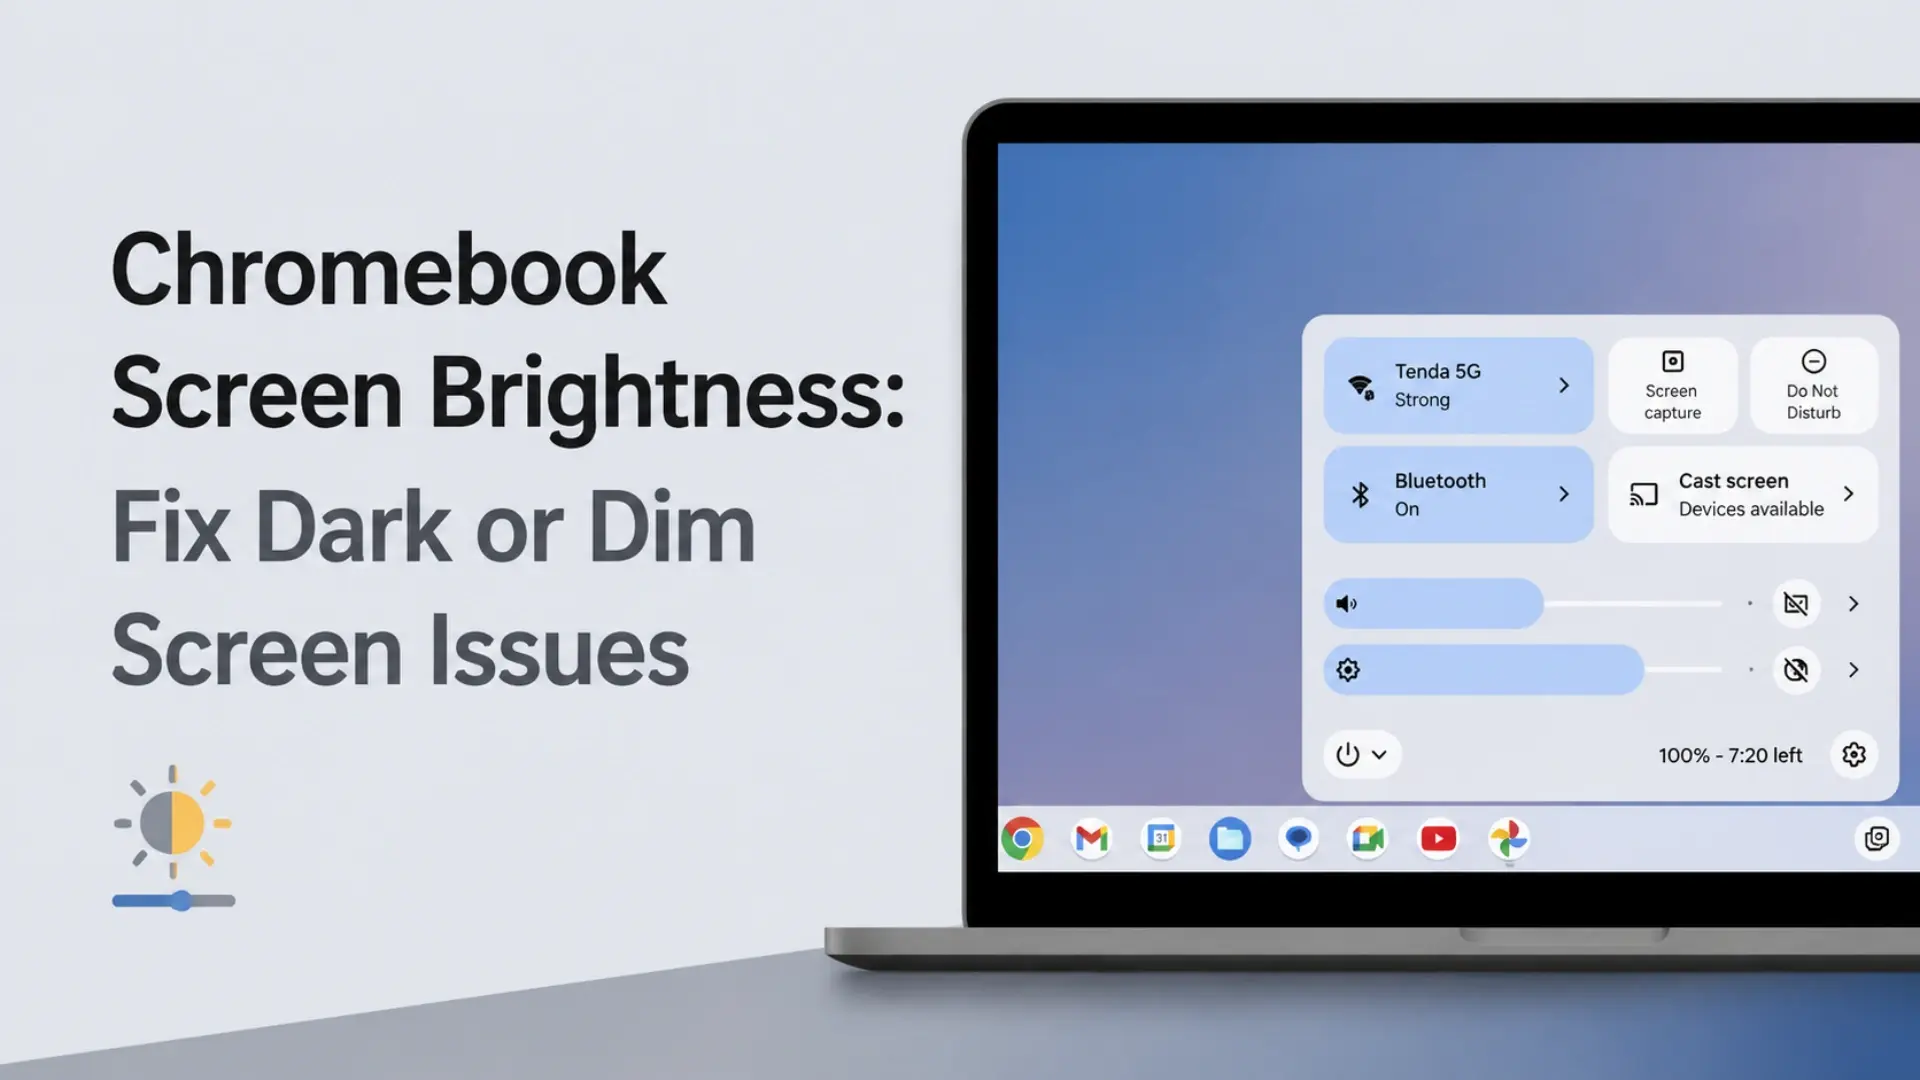
Click on the time icon in the bottom-right corner of your screen to open the Quick Settings panel.
Click the gear icon to open the Settings menu.
On the left sidebar, click on Device, then select Keyboard from the right-hand pane.
Look for the toggle option that says “Treat top-row keys as function keys”.
Ensure this toggle is turned off (grayed out). Test your volume and brightness buttons immediately to see if functionality returns.
Situation B: Keyboard Types Randomly or Repeats Keys
Is your Chromebook acting like it is haunted? If you press the “A” key once and it types “aaaaaaaa,” or if random characters appear on the screen without you touching the device, you are dealing with a key repetition issue.
The Detailed Reason: This symptom is usually caused by two distinct culprits. Physically, a tiny piece of debris can wedge itself underneath the silicone membrane switch, holding the key down mechanically. Education models often feature pick-resistant keycaps to prevent students from prying them off, but crumbs and dust can still slip underneath. Electronically, minor liquid corrosion from a past spill can create a “bridge” on the keyboard’s printed circuit board (PCB) matrix, tricking the computer into thinking a key is constantly being pressed.
The Step-by-Step Solution:
Physical Purge: Shut down your Chromebook completely. Disconnect any charging cables. Flip the laptop upside down (keyboard facing the floor) and gently tap the back of the case to dislodge larger particles.
Compressed Air Blast: Hold the Chromebook at a 75-degree angle. Spray a can of compressed air into the gaps between the keys in a left-to-right motion. Pivot the laptop and spray again.
Disable Accessibility Bugs: Boot the laptop, go to Settings -> Accessibility -> Keyboard and text input. Ensure that Sticky Keys and Bounce Keys are completely turned off.
Situation C: Specific Keys or Specific Letters Do Not Work
If a specific cluster of keys (for example, the keys Q, W, and E, or an entire vertical column like 7, U, J, M) is completely dead while the rest of the layout works perfectly, you are likely looking at a localized hardware issue.
The Detailed Reason: Laptop keyboards do not have individual wires for every single key; instead, they operate on a matrix grid of horizontal and vertical trace lines printed on flexible plastic sheets. If a single trace line cracks due to a heavy impact, drop, or localized liquid corrosion, an entire row or column connected to that specific line will die simultaneously. On the software side, it could also mean your digital keyboard layout was accidentally switched to a foreign language matrix.
The Step-by-Step Solution:
Fix the Layout Matrix: Press the keyboard shortcut Ctrl + Space simultaneously to toggle between installed keyboard languages. Check your system tray (bottom right) to ensure it says “US” or your preferred region.
Run the ChromeOS Hardware Test: Open your App Launcher (click the circle icon on the bottom left) and type Diagnostics. Open the Diagnostics App.
Click on Input on the left menu, find your Internal Keyboard and click Test.
An interactive virtual keyboard will appear on the screen. Press every single key on your physical keyboard. If the working keys light up blue on the screen but the dead keys remain completely gray and unresponsive, your physical keyboard matrix is broken.
General Advanced Solutions to Fix a Chromebook Keyboard Not Working
If your specific symptom isn’t covered above, or if your entire keyboard is completely unresponsive, follow these universal troubleshooting steps in order.
Step 1: Perform an EC Hard Reset
This is the ultimate secret weapon for ChromeOS hardware issues.
The Detailed Reason: The Embedded Controller (EC) is a dedicated microchip on your Chromebook’s motherboard that handles low-level hardware management, including power distribution, battery charging, the cooling fan, and physical inputs from the keyboard and touchpad. If the EC’s firmware hangs or freezes due to a power surge or a sleep-cycle error, it stops listening to the keyboard entirely. A hard reset drains the residual power from this chip and forces it to reboot without deleting your user data.
The Step-by-Step Solution:
Turn off your Chromebook completely by holding down the power button or selecting “Shut Down” from the status menu.
Press and hold the Refresh key (the circular arrow 🔃 usually located on the top row, fourth or fifth key from the left).
While firmly holding down the Refresh key, press and hold the Power button.
Keep holding both keys down for a full 10 seconds.
Release both keys simultaneously. Your Chromebook should boot back up. Once you reach the login screen, test the keyboard immediately.
Step 2: Test the Keyboard in Guest Mode
Sometimes, a corrupted or poorly coded third-party Chrome browser extension can hijack or block your keyboard inputs.
The Detailed Reason: Chrome extensions run background scripts that can modify webpage behaviors and intercept keystrokes (like password managers or ad-blockers). If an extension crashes in the background, it can lock up the input buffer. Because Google syncs your extensions across your account automatically, a bad extension will persist even after a normal reboot. Guest Mode disables all extensions completely, giving you a pure environment to test.
The Step-by-Step Solution:
Log out of your current Google profile to return to the main login screen.
Look at the bottom menu bar of the screen. Click on Browse as Guest.
Once the clean guest browser window opens, click on the URL bar and try typing a full sentence.
If the keyboard works perfectly in Guest Mode, your hardware is fine. You must log back into your main profile, open Chrome, go to chrome://extensions, and turn off your recently installed or updated extensions one by one until you find the culprit.
Step 3: Factory Reset (Powerwash)
If your Chromebook Keyboard Not Working problem persists after a hard reset, the final software troubleshooting step is a Powerwash, which restores the laptop to its factory defaults.
The Detailed Reason: Over time, deep system updates can leave behind corrupted system files or damaged cache registries within the ChromeOS core directory. A Powerwash completely wipes the local drive partition and reinstalls a fresh, uncorrupted version of the operating system firmware, clearing out any deeply embedded software bugs that are blocking keyboard drivers.
The Step-by-Step Solution:
Warning: Back up all files in your “Downloads” folder to Google Drive or a USB drive first, as local data will be erased.
Open Settings -> expand the Advanced section on the left -> click Reset settings.
Click the Reset button next to the Powerwash option.
A prompt will ask you to confirm. Click Restart. Your Chromebook will reboot, show a progress screen clearing the data, and restart to the initial out-of-the-box setup screen. If the keyboard still fails to work during this initial setup, you are facing a hardware failure.
The Ultimate Hardware Diagnosis Route
If software resets fail, use this structural process to determine if you need a quick internal adjustment or a full hardware replacement.
Chromebook Keyboard Replacement Options
| Failure Symptom | Root Cause | Recommended Solution |
| Entire vertical column dead | Cracked matrix trace on internal PCB | Replace Full Keyboard / Palmrest |
| Completely dead after a drop | Loose ZIF Ribbon Cable Connection | Open case and re-seat the cable |
| Keys sticky or hard to press | Dried liquid contamination / residue | Clean with isopropyl alcohol or replace |
| Individual keycaps missing | Mechanical vandalism / broken clips | Replace individual key or full assembly |
B2B Procurement Tip: For school districts, IT asset management (ITAM) firms, and repair shops handling large fleets of Chromebooks, tracking common failure patterns on high-volume models can significantly reduce maintenance downtime. Keeping a rolling inventory of OEM-specification replacement palmrests ensures quick turnaround times before exams.
If you have confirmed your chromebook keyboard not working is a hardware failure, you do not need to scrap the machines. Chromebook keyboards are modular parts. You can easily browse high-quality replacement parts or request a bulk quote for your repair inventory to restore your laptops to 100% functionality at a fraction of the cost of a new machine.